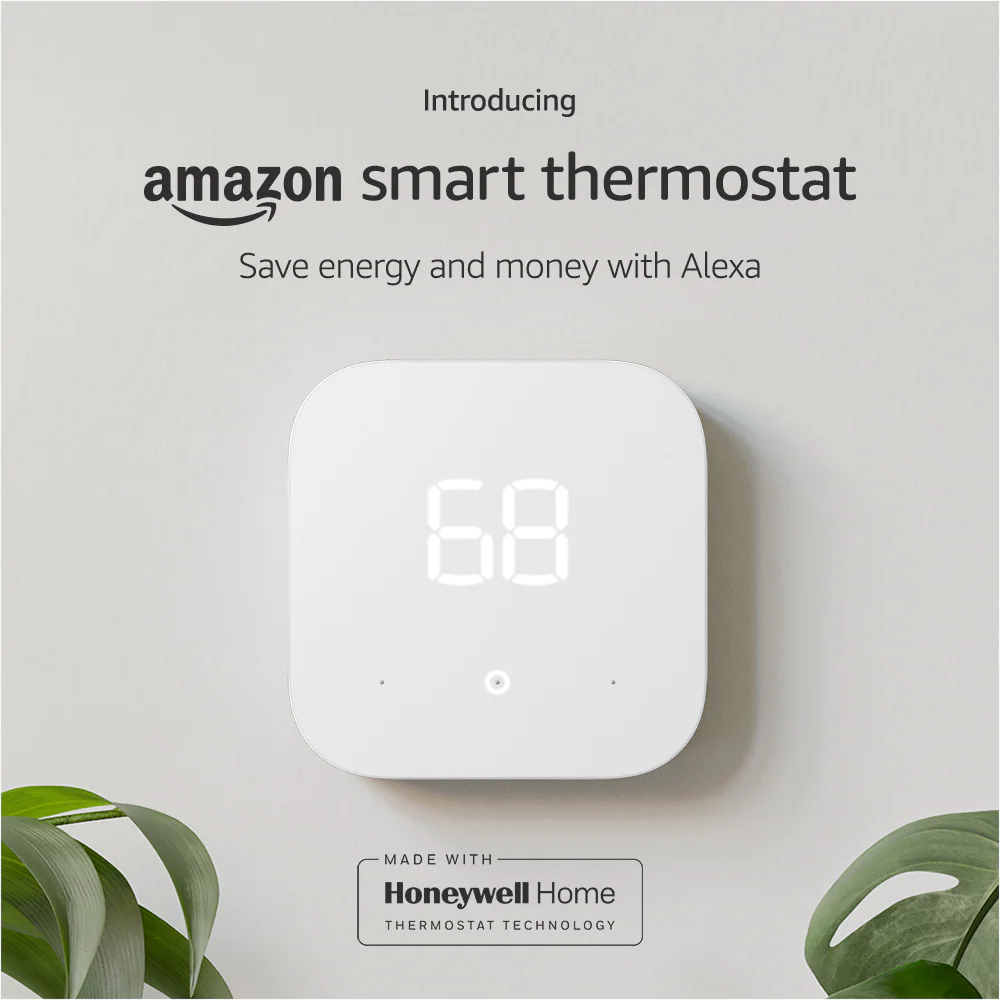
The Amazon Smart Thermostat is the first officially Amazon-branded thermostat. You can install Amazon Smart Thermostat on your own by following the step-by-step instructions below. If you need any help, you can contact Amazon’s 24/7 customer service via phone, chat, or email. If you prefer, you can also hire Amazon Home Services or a local HVAC tech to do the installation instead.
How to install Amazon Smart Thermostat
Time needed: 1 hour
Installation takes about 1 hour for most customers. The following tools will help with the installation:
– A drill with a 3/16-inch drill bit
– A pen or pencil
– A level
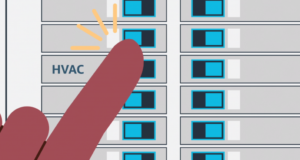
- Turn off the power to your thermostat
Go to your electrical fuse box and switch your HVAC fuse to “off”.

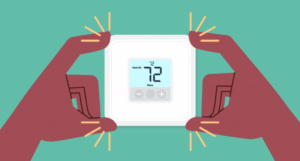
2. Remove your old thermostat’s faceplate

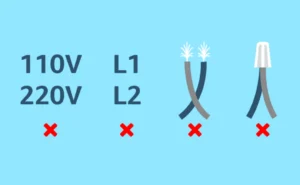
3. Check your old thermostat for high voltage wiring
The Amazon Smart Thermostat is only compatible with 24V (low-voltage) systems and not with high voltage systems (110V/220V). If you haven’t yet checked for compatibility, you can do so here: Amazon Smart Thermostat Compatibility.

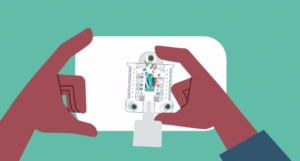
4. Take a photo of your old thermostat’s wiring
It’s important to have a photo of your old wiring, just in case you need to return the wiring to the way it was before.
5. Check if you have a C (Common) wire
If you have a wire labeled “C”, proceed to step 8. If not, proceed to step 6.
6. Check for an extra unused wire at the thermostat installation location (conditional)
If there’s an unused wire behind the wall, you may be able to use it as your “C” (Common) wire. If you have an extra wire, proceed to step 7. If not, you’ll need to install the optional C wire power adapter.

7. Check for an extra unused wire at your furnace control board (conditional)
Open your furnace panel and check for the same extra wire found at the thermostat installation location. If it’s connected to the “C” or “Common” terminal, close your furnace, and proceed to step 8. If it’s not connected, then proceed with connecting the wire to the “C” or Common terminal, then close your furnace, and proceed to step 8.


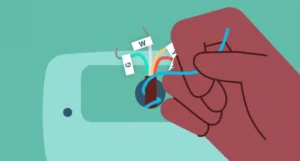
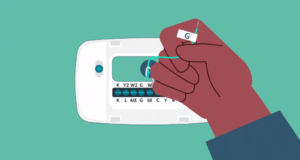
8. Remove one wire at a time and label each with the stickers included in the Amazon Smart Thermostat packaging
You may need to unscrew or unclip each wire. Make sure you also label the “C” (Common) wire, if you have one.

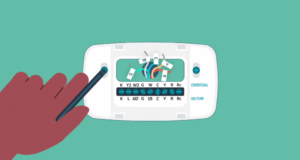
9. Remove your old thermostat’s wall plate

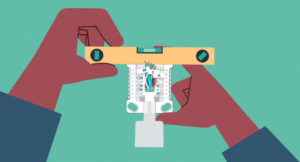
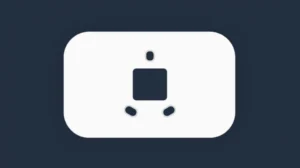
10. Place the Amazon Smart Thermostat wall plate on the wall
– Pull the thermostat wires through the middle of the plate.
– Use the level to make sure it’s straight.

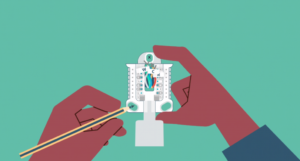
11. Use a pen or pencil to mark the location of the holes in the wall plate.

12. With a 3/16″ bit, drill into the wall on the spots you marked.
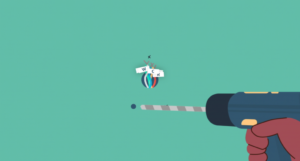

13. Press the plasterboard anchors into the holes.


14. Install trim plate (optional)
If you need to cover a larger area to cover the holes from your old thermostat or different color paint, you can use the new trim plate that came with your Amazon Smart Thermostat.


15. Attach the Amazon Smart Thermostat wall plate on the wall
Secure the wall plate with the screws included in the package


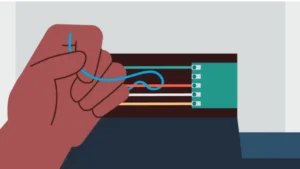
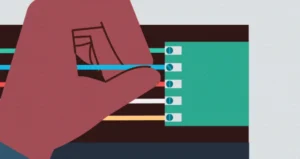
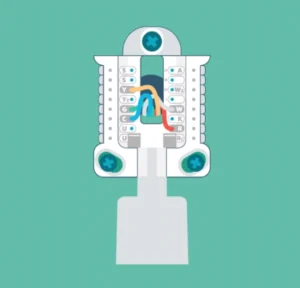
16. Connect your thermostat wires
Connect each labeled wire from your wall to the matching slot in your wall plate. Make sure your wires are connected by gently tugging each one after you connect it.

17. Close the wire cover on your wall plate

18. Attach the Amazon Smart Thermostat faceplate to the wall plate
Align the faceplate with the wall plate and press gently until you hear it click into place.


19. Turn the power back on at the fuse box

20. Check the thermostat’s display
If the thermostat display reads “SEt” or shows the temperature, then proceed to step 22. If not, proceed to step 21.


21. Remove the Amazon Smart Thermostat faceplate from the wall (conditional)
If nothing is displayed on the thermostat screen after attaching it to the wall, then some wiring may have come loose during the installation. Take the following steps:
– Make sure all the wires are connected to the wall plate correctly.
– Make sure the power to your thermostat is on.
Once you’ve taken the above steps, attach the Amazon Smart Thermostat faceplate to the wall plate again. If the thermostat still does not display anything, reach out to Amazon customer service for additional support.
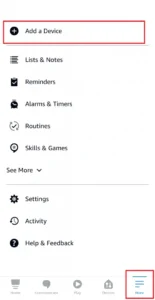
22. Connect your Amazon Smart Thermostat to Alexa
In the Alexa app, select “More” at the bottom right, then select “Add a Device” at the top left.

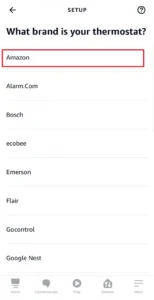
23. Scroll down the list and select “thermostat”
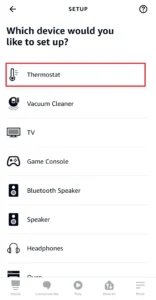

24. Select “Amazon” as the thermostat brand